
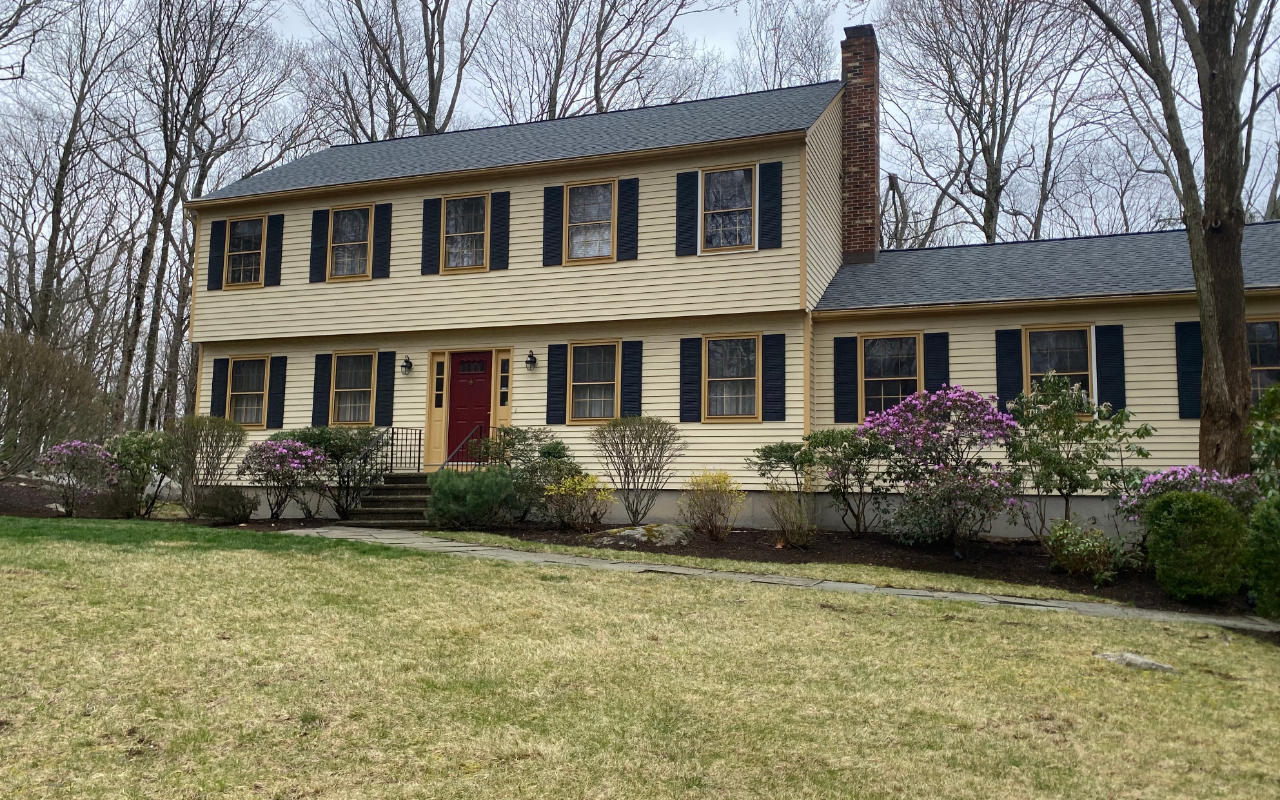
Hot weather can make exterior paint problems appear without warning. When you notice paint bubbling exterior walls, the visible damage may point to trapped moisture, poor adhesion, or too much surface heat.
At BVL Painting & Carpentry, we encourage homeowners to inspect changes early. Our guide to signs your home needs exterior painting can help you spot other warning signs before they spread.
Common Causes of Summer Paint Bubbles
Summer heat can dry the top layer of paint faster than the material beneath it. Moisture or solvents may become trapped under the surface. As they expand, pressure pushes the paint outward and creates bubbles or blisters.
Bubbling exterior paint can also develop when a wall was damp before painting. Rain, morning dew, plumbing leaks, and poor drainage may leave moisture inside wood, siding, or masonry. A fresh coating can seal that moisture in rather than allowing it to escape.
Weak surface preparation is another common cause. Paint may not bond well when dirt, chalk, mildew, loose coatings, or glossy areas remain on the wall. Even quality paint can fail when the surface beneath it is unstable.
How Do Heat and Humidity Damage Paint?
Direct sunlight can raise the temperature of siding and exterior walls far above the surrounding air temperature. Paint applied to a very hot surface may dry unevenly. This can weaken adhesion and lead to paint peeling from heat.
Humidity slows normal drying. When warm, damp air surrounds the home, water can remain beneath a new coating or enter through small cracks. This combination often causes blistering paint outside, especially on walls that receive strong afternoon sun.
Sun exposure can also make older paint brittle. Once small cracks form, rain and humidity can reach the surface below. Our article about sun damage on exterior paint explains how long-term exposure affects color and coating strength.
Warning Signs of Moisture Behind Paint
Exterior paint moisture damage may begin in a small area before spreading across a wall. Check the surrounding surface instead of focusing only on the largest bubble.
- Soft or flexible bubbles that move when pressed gently
- Dark stains, faded patches, or water marks near damaged paint
- Cracked caulk around windows, doors, trim, or wall joints
- Peeling near gutters, downspouts, roof edges, or foundation areas
- White powder on masonry or damp wood beneath loose paint
When you choose BVL Painting & Carpentry, we look beyond the visible coating to understand what may be affecting the surface. Repainting without correcting the moisture source can allow the same problem to return.
Surface Preparation for Better Paint Adhesion
Proper preparation gives new paint a clean and stable base. Loose paint should be removed, damaged edges should be sanded, and the wall should be cleaned. The surface must dry fully before primer or paint is applied.
Cracks, open joints, and failed caulk should also be repaired. These gaps allow rain to move behind the coating. Seasonal moisture can be especially difficult after wet weather, as explained in our guide to spring rain and exterior paint.
A suitable exterior primer can help seal porous areas and improve adhesion. However, primer cannot correct active leaks, damaged siding, or ongoing moisture problems. Those conditions should be addressed before painting begins.
Choosing Paint for Hot Exterior Surfaces
The right coating should match the wall material and local exposure conditions. Exterior acrylic products are often selected because they can expand and contract as temperatures change. Always follow the paint manufacturer’s directions for surface temperature, drying time, and application.
- Choose paint made specifically for exterior surfaces
- Check that the product suits wood, masonry, stucco, or siding
- Use compatible primer and finish coats
- Avoid mixing products with different application requirements
- Select a coating designed for regular sun and weather exposure
Our team at BVL Painting & Carpentry can assess the existing coating and wall condition before a new product is applied. This reduces the risk of choosing paint that does not bond well with the current surface.
Steps to Prevent and Repair Bubbling
Repairing paint bubbling exterior walls requires more than covering the damaged spots. Loose coatings must be removed, and the underlying cause should be corrected before the surface is refinished.
- Inspect the wall for leaks, failed caulk, cracks, and drainage problems.
- Scrape away all loose, raised, or peeling paint.
- Sand the edges until the transition feels smooth.
- Clean the exposed area and allow it to dry completely.
- Apply a compatible exterior primer where needed.
- Repaint in thin, even coats during suitable weather.
Avoid painting in direct midday sun or immediately after rain. Thick coats can trap moisture and dry unevenly. With BVL Painting & Carpentry, you receive a careful approach focused on preparation, surface condition, and lasting adhesion.
Frequently Asked Questions
Why does exterior paint bubble during summer?
High surface temperatures can make paint dry too quickly on top while moisture remains below. Humidity, damp walls, and weak preparation can increase the risk. Reviewing the effects of sunlight on exterior paint can help you understand how heat affects the coating.
Can I paint directly over exterior paint bubbles?
No. Painting over bubbles may hide the damage for a short time, but the loose coating will usually fail again. Remove unstable paint, find the moisture source, prepare the surface, and use a suitable primer before repainting.
Can rain cause paint bubbles after the weather clears?
Yes. Moisture can remain inside siding, wood, stucco, or masonry after the surface appears dry. The information in our exterior paint and rain guide explains why sufficient drying time matters.
What should I do when several walls are bubbling?
Widespread damage may point to ongoing moisture, poor preparation, or an incompatible coating. An inspection can help determine whether the problem requires spot repairs, moisture correction, or broader surface preparation.
How can I notice exterior paint failure earlier?
Check walls, trim, joints, and shaded areas regularly. Look for small cracks, faded patches, loose caulk, and early bubbles. You can also review these early signs of exterior paint failure before the damage becomes more extensive.
Protect Your Exterior Before Damage Spreads
Ignoring paint bubbling exterior walls can allow moisture to reach a larger area. Early repairs can protect the surface, improve the finish, and reduce the chance of repeated peeling during hot or humid weather.
At BVL Painting & Carpentry, we evaluate the damaged coating and the conditions behind it before recommending the next step. Use our contact page to discuss exterior paint bubbling and plan a practical solution for your home.