
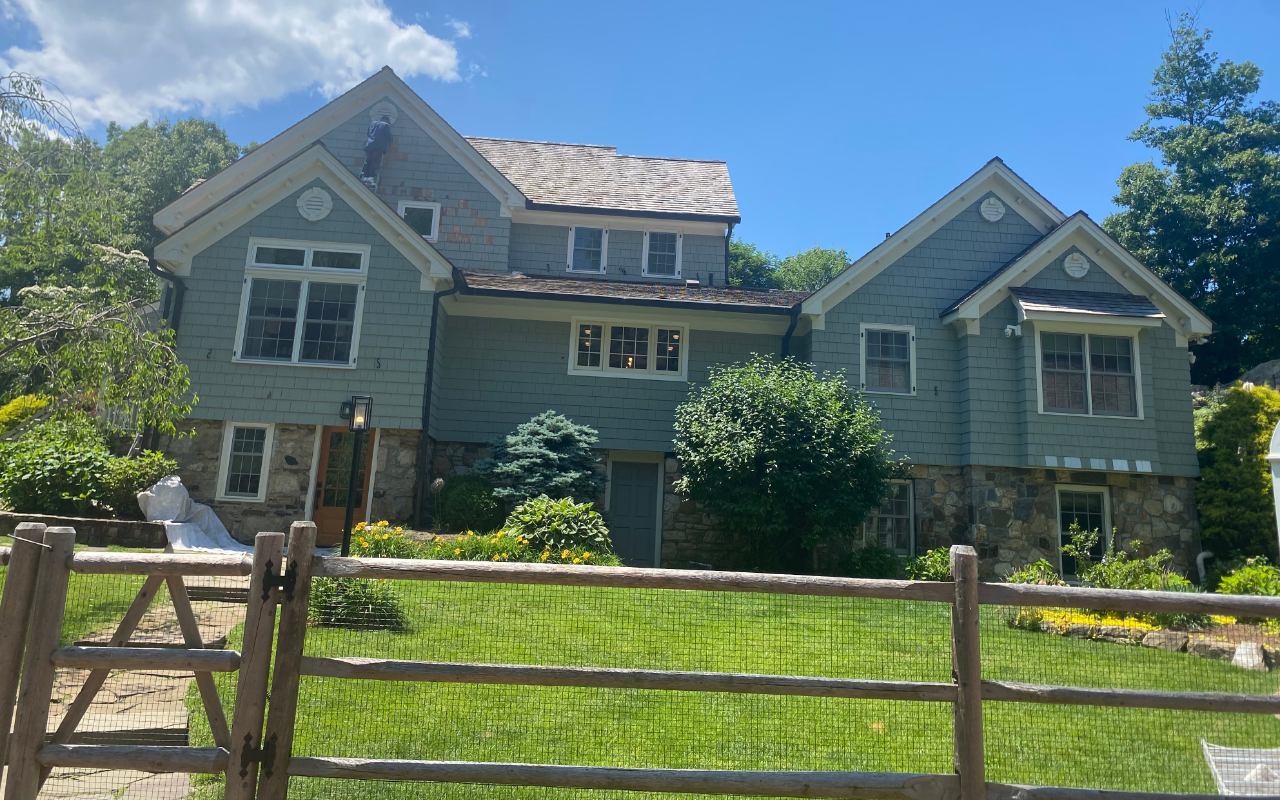
Storms can expose weak areas around windows, rooflines, siding, and doors. Peeling paint or soft wood may seem minor, but moisture can move behind damaged boards and affect nearby surfaces.
Knowing when to replace rotted exterior trim helps protect your home before strong rain and wind arrive. At BVL Painting & Carpentry, we inspect the visible damage and the areas around it before recommending the next step.
Our approach may include repairing wood trim before painting so the finished surface has a solid base.
Signs Your Exterior Trim Has Started Rotting
Rotted exterior trim often begins where water collects or where paint has lost its seal. Window corners, door frames, fascia boards, and areas below gutters need close attention.
Early signs can help you act before moisture reaches siding, sheathing, or framing.
Common Warning Signs
- Paint that peels, bubbles, cracks, or separates from the wood
- Soft areas that give way when pressed gently with a tool
- Dark stains, mold, mildew, or a damp smell near the trim
- Cracks or gaps where trim meets siding, windows, or doors
- Wood that flakes, crumbles, or feels lighter than nearby boards
- Failed caulk lines that leave open seams
Check more than the most visible spot. Damage may continue behind paint or caulk, even when the surface still looks firm.
Why Storm Season Makes Trim Damage Worse
Wind-driven rain can enter small openings around damaged trim. Once moisture gets behind the board, it may stay trapped and keep weakening the wood.
Repeated wet and dry cycles can also open joints and make cracks larger. Timely exterior trim repair can reduce water entry and support a tighter connection between trim and nearby materials.
With BVL Painting & Carpentry, you receive a repair plan based on the condition of the affected area, not just the surface appearance.
Key Takeaway
Small trim problems can become larger during storms. Soft wood, open seams, and peeling paint should be checked before heavy rain arrives.
Choose Repair or Replacement Based on Damage
A small surface defect may be repairable when the wood underneath remains firm and dry. Replacement is often better when rot reaches deep into the board, spreads to a joint, or affects the fastener area.
Our team checks the depth of the damage before removing material. We also look for nearby problems that may have caused the decay. When moisture has affected more than the trim, exterior wood siding repair may need to be part of the project.
| Trim Condition | Best Next Step |
|---|---|
| Small paint failure with firm wood | Clean, prep, prime, and repaint the affected area. |
| Minor surface damage with dry wood | Repair may work if the board remains solid. |
| Soft or crumbling wood | Replacement is usually the better option. |
| Rot near joints, corners, or fasteners | Replace the board so the new trim can hold securely. |
| Moisture behind siding or nearby trim | Inspect the surrounding area before finishing the repair. |
Prepare Carefully for Wood Trim Replacement
Careful preparation helps prevent hidden damage from being covered by a new board. Before wood trim replacement begins, the work area should be measured, opened safely, and checked for moisture.
Nearby siding, flashing, and painted surfaces also need protection during removal.
Preparation Steps We Follow
- Inspect the full length of the damaged trim and nearby joints.
- Probe soft areas to find where solid wood begins.
- Cut old caulk lines to reduce damage to nearby surfaces.
- Remove the affected board without pulling against sound siding.
- Check the exposed surface for damp wood, gaps, or decay.
- Allow wet areas to dry before installing replacement material.
These steps help us replace rotted exterior trim without covering conditions that could shorten the life of the repair.
Key Takeaway
Good trim work starts before the new board goes in. The area must be dry, solid, and properly prepared for the repair to last.
Use Materials That Support Longer-Lasting Repairs
The right material depends on the location, exposure, and design of the home. Exterior wood can match existing details and work well when it is sealed, primed, and painted.
Other exterior-rated trim products may offer added protection in areas that often get wet. Fascia board repair needs special attention because fascia sits near roof edges and gutters.
Leaks, overflowing gutters, or open joints can keep this area damp. When you choose BVL Painting & Carpentry, we consider both the damaged board and the moisture source before completing the repair.
Detailed trim profiles may also need accurate cutting and fitting. Our custom carpentry work can support repairs where standard trim sizes do not match the existing exterior.
Protect New Exterior Trim After Installation
New trim needs more than a close fit. Sealed joints, suitable fasteners, exterior-grade primer, and proper paint help reduce future water entry.
Each connection point should help water shed away instead of trapping moisture behind the board.
Trim Protection Checklist
- Use exterior-rated materials suited to the repaired area.
- Seal cut ends and exposed edges before final installation.
- Use corrosion-resistant fasteners made for outdoor work.
- Apply paintable exterior caulk at suitable joints and gaps.
- Prime and paint exposed wood with exterior-grade products.
- Inspect gutters, flashing, and roof edges near fascia repairs.
After installation, regular checks can catch peeling paint or open seams early. Quick upkeep can extend the life of an exterior trim repair and reduce the chance of moisture returning.
Key Takeaway
New trim lasts longer when edges, seams, fasteners, and paint all work together to keep moisture out.
Frequently Asked Questions
How can I tell whether exterior trim is rotten?
Press the area gently with a screwdriver or similar hand tool. Wood that feels soft, breaks apart, or crumbles may be rotten. Peeling paint and dark stains are also warning signs. Our guide to wood trim repair before painting explains why damaged areas should be addressed before refinishing.
Can rotted trim allow water into the house?
Yes. Open joints and weak boards can let rain move behind exterior surfaces. Moisture may affect nearby siding or the material beneath it. When damage spreads beyond the trim, reviewing options for repairing exterior wood siding can help identify the right scope.
Does every soft trim board need full replacement?
Not always. A limited surface issue may be repairable when the remaining wood is dry and solid. Full replacement is often better when decay reaches deep into the board or affects the area needed for a secure installation.
Can decorative exterior trim be matched?
Many trim shapes can be measured and recreated, depending on the existing design and material. For nonstandard profiles, custom carpentry for exterior trim may provide a closer fit than standard boards.
When should I replace rotted exterior trim?
Address it as soon as you notice soft wood, open joints, or moisture damage. Acting before heavy rain can limit further exposure. Our team can inspect the area and explain whether repair or replacement is the more practical option.
Prepare Your Home Before the Next Storm
Damaged trim should not stay open to rain. Replacing weak sections, sealing joints, and fixing nearby moisture problems can strengthen the exterior before harsh weather arrives.
At BVL Painting & Carpentry, we focus on careful prep and repairs that fit the existing home. To replace rotted exterior trim before the next storm, contact our team about your exterior trim.