
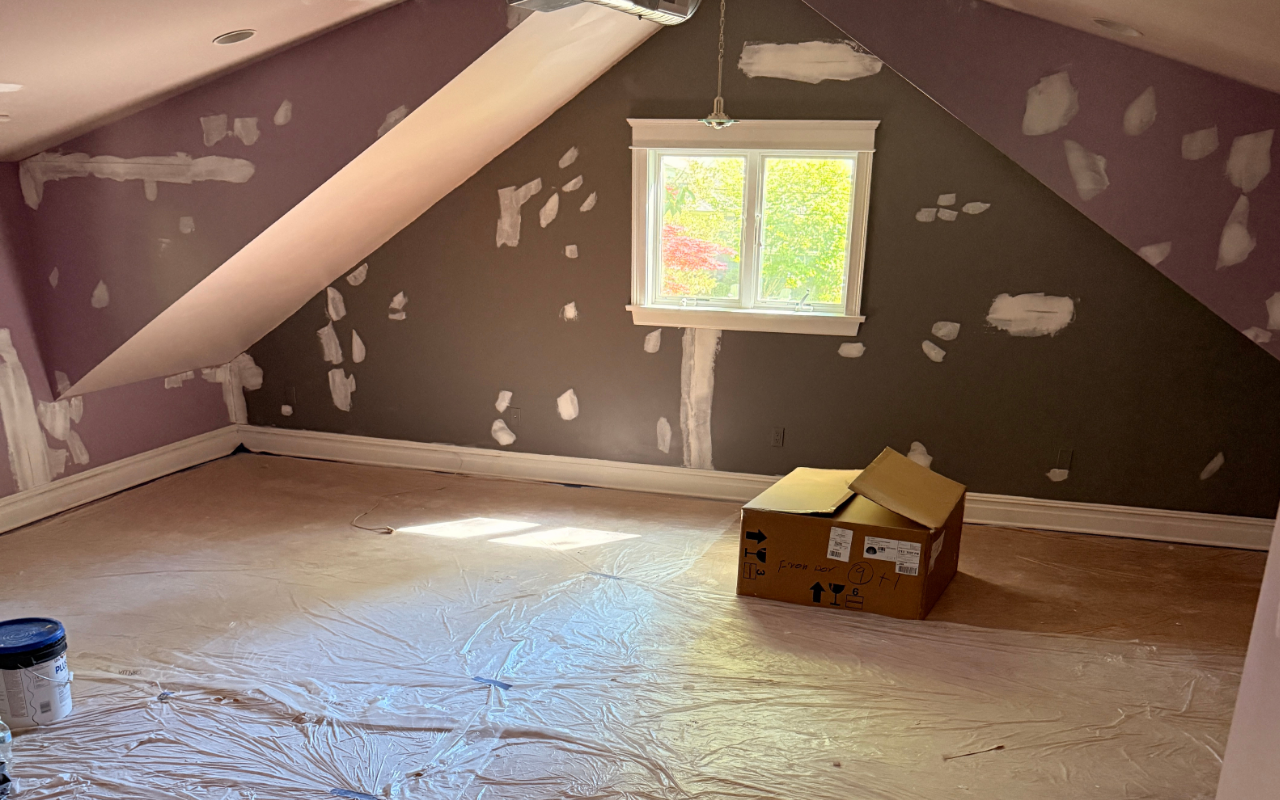
Noticing paint bubbling on ceiling surfaces can be worrying. A small raised spot may point to trapped moisture, weak paint adhesion, or hidden ceiling damage. Finding the cause early can help protect the drywall and prevent a larger repair.
At BVL Painting & Carpentry, we know that lasting paint results begin with a clean, dry, and stable surface. Our careful repair approach follows the same preparation principles used in professional exterior painting services, where surface condition matters before any coating is applied.
Why Does Ceiling Paint Start to Bubble?
Paint bubbles form when the coating loses its bond with the surface beneath it. Moisture is one of the most common causes. Water can enter through a roof leak, an upstairs plumbing problem, condensation, or poor ventilation in a humid room.
When moisture becomes trapped, it pushes against the paint film. This pressure creates raised areas, blisters, and peeling edges. Ceiling paint bubbling from water may also appear with yellow stains, dark patches, or soft drywall.
Poor preparation can cause similar problems. Paint may fail when it is applied over dust, grease, damp drywall, or an unprimed repair. Our team begins by identifying the cause instead of simply covering the visible damage.
Signs Water Is Behind the Paint
Some bubbles come from surface preparation, but others warn of active water damage. Look closely at the area before scraping or repainting it. A bubble that feels soft, wet, or cool may have moisture behind it.
Discoloration is another important sign. Brown rings, yellow marks, dark spots, and spreading stains often indicate water movement. The paint may also crack or peel around the bubble.
In serious cases, the ceiling can sag or feel weak when lightly pressed. Rain-related damage may begin outside the room, especially when roof edges, siding joints, trim, or exterior coatings allow moisture to enter.
Our guide to spring rain and exterior paint explains how wet weather can affect painted surfaces.
Key Takeaway
Ceiling bubbles should be checked before repainting. Soft drywall, stains, sagging, or spreading marks often point to moisture behind the paint.
Compare Ceiling Paint Bubble Causes and Next Steps
Different ceiling bubbles can come from different problems. A clear comparison helps homeowners decide whether they need drying, scraping, patching, leak repair, or professional inspection before repainting.
Ceiling Paint Bubble Guide
| Problem | What It May Mean | Helpful Next Step |
|---|---|---|
| Soft bubble with yellow stain | Moisture may be trapped behind the paint. | Find and stop the water source before repair. |
| Bubble near a bathroom or kitchen | Condensation or poor ventilation may be affecting the ceiling. | Improve airflow and confirm the surface is dry. |
| Paint lifts after repainting | The surface may have been dusty, damp, or unprimed. | Remove loose paint, clean, dry, prime, and repaint. |
| Large peeling area | The coating or drywall may have widespread failure. | Inspect the ceiling before patching the surface. |
| Sagging or weak drywall | Water damage may extend beyond the paint layer. | Avoid working under the area and request professional help. |
Prepare Tools and Safety Steps Before Repair
Gathering the right materials makes the repair cleaner and safer. Make sure the ceiling is dry before beginning. Do not work below sagging drywall or near wet electrical fixtures.
Tools and Protective Supplies
- Stable ladder or suitable work platform
- Drop cloths and plastic sheeting
- Paint scraper or putty knife
- Medium-grit and fine-grit sandpaper
- Patching compound and joint knife
- Stain-blocking primer
- Ceiling paint with the correct finish
- Gloves, safety glasses, and a dust mask
Move furniture away from the work area and cover the floor. Remove or protect nearby light covers. Keep the room ventilated while sanding, priming, and painting.
With BVL Painting & Carpentry, surface protection is treated as part of the repair rather than an optional step.
Key Takeaway
Safe repair starts with a dry ceiling, stable access, protected surroundings, and the right primer. Do not scrape wet, sagging, or unsafe ceiling areas.
How to Fix Bubbling Ceiling Paint
Learning how to fix bubbling ceiling paint begins with stopping the moisture source. Repair any roof, plumbing, or ventilation problem first. Painting over an active leak will only hide the issue for a short time.
Ceiling Paint Repair Steps
- Confirm that the ceiling and surrounding area are fully dry.
- Scrape away all loose, raised, or peeling paint.
- Sand the edges until the damaged area feels smooth.
- Apply patching compound to dents, cracks, or exposed drywall.
- Let the compound dry and sand it again.
- Remove dust with a clean, dry cloth.
- Apply a stain-blocking primer over the repaired area.
- Finish with thin, even coats of matching ceiling paint.
Feather the new paint beyond the patched area to reduce visible edges. Two light coats usually create a smoother finish than one heavy coat.
Review our painting preparation checklist for more surface-preparation principles that also support durable interior results.
Repair Large or Widespread Ceiling Damage Carefully
A small dry bubble may only need scraping, patching, priming, and repainting. Large areas require a more careful inspection. Widespread peeling can mean that moisture has moved beyond the visible stain or that the existing coating has failed across the ceiling.
Soft drywall, sagging sections, crumbling plaster, repeated stains, and strong musty odors should not be treated as simple paint problems. Damaged material may need to be removed and replaced before the surface can be finished.
Matching an existing ceiling texture can also be difficult. Smooth ceilings show ridges and sanding marks, while textured finishes require the right tools and technique.
When you choose BVL Painting & Carpentry, we focus on creating a stable repair and a finish that blends naturally with the surrounding ceiling.
Key Takeaway
Small dry bubbles may be repairable, but widespread peeling, sagging drywall, repeated stains, or musty odors need a closer inspection before repainting.
Prevent Ceiling Bubbles From Coming Back
Prevention depends on moisture control and proper paint preparation. A repaired ceiling should remain dry before primer or paint is applied. Humid rooms also need enough airflow to reduce condensation.
Prevention Checklist
- Inspect the roof and plumbing after leaks or heavy rain.
- Use bathroom and kitchen exhaust fans when moisture rises.
- Keep attic vents open and free from blockages.
- Clean and dry the ceiling before painting.
- Prime patches, stains, and bare drywall.
- Apply thin coats and allow enough drying time.
- Watch repaired areas for new stains or movement.
Do not ignore a returning bubble. Repeated bubbling paint on ceiling areas often means that the original cause remains active.
Early attention can limit damage and reduce the amount of drywall, plaster, or paint that must be replaced.
Frequently Asked Questions
Can I paint directly over a ceiling bubble?
No. The loose paint should be removed, and the surface must be dry and stable first. Painting over a bubble usually traps the problem beneath another coat. For help evaluating the area, use our ceiling paint consultation form.
Does every ceiling paint bubble mean a leak?
Not every bubble comes from a leak. Poor cleaning, missing primer, thick paint, and painting over a damp surface can also cause failure. However, stains or soft drywall should be checked for moisture. Our article about rain and painted surfaces offers useful moisture-related context.
How long should a wet ceiling dry before painting?
The ceiling should be completely dry before repairs begin. Drying time depends on the amount of water, airflow, temperature, and the material beneath the paint. A moisture meter can provide better guidance than appearance alone.
Why did the repaired paint bubble again?
The moisture source may still be active, or the repaired area may have been painted before it dried. Dust, weak edges, and missing primer can also cause new bubbles. Review these surface preparation steps before repainting.
When should I call a painting professional?
Professional help is useful when the damaged area is large, the ceiling is high, the texture is difficult to match, or stains keep returning. Sagging drywall, mold, and active leaks should also be evaluated before cosmetic painting begins.
Stop Ceiling Bubbles Before Damage Spreads
A paint bubbling on ceiling problem should be treated as a warning, not only a cosmetic flaw. The best repair begins with finding the cause, drying the surface, removing failed paint, and rebuilding each layer carefully.
At BVL Painting & Carpentry, we can help assess damaged paint and restore the ceiling after the underlying issue has been addressed. Contact our team about your ceiling before the affected area grows or becomes harder to repair.